Start to finish
How I paint a Space Marine
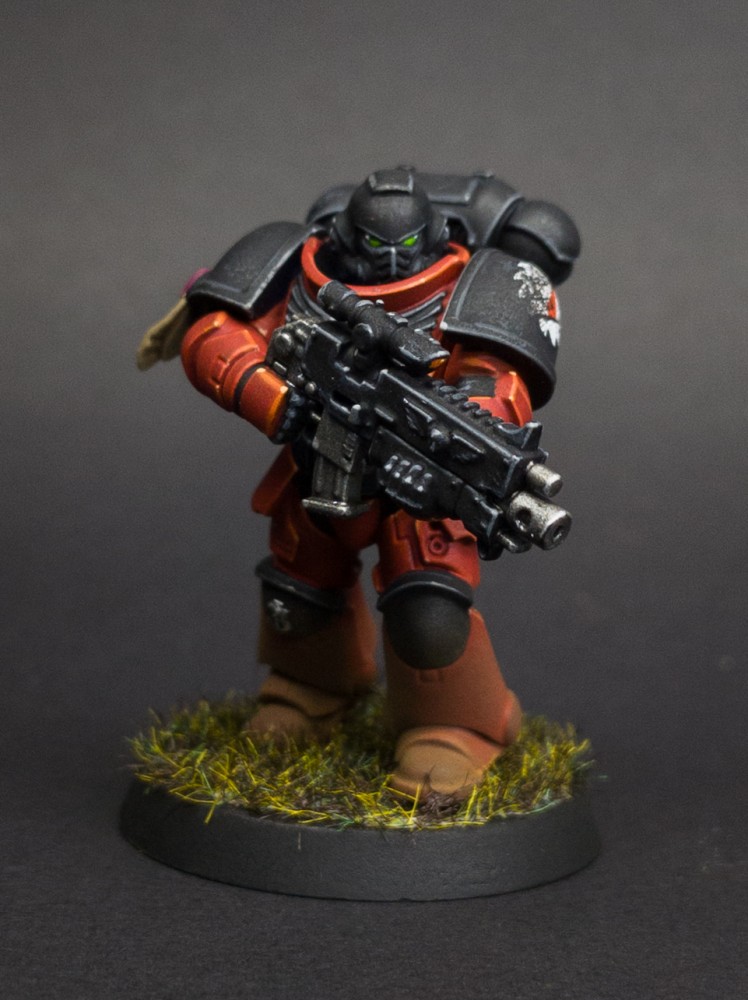
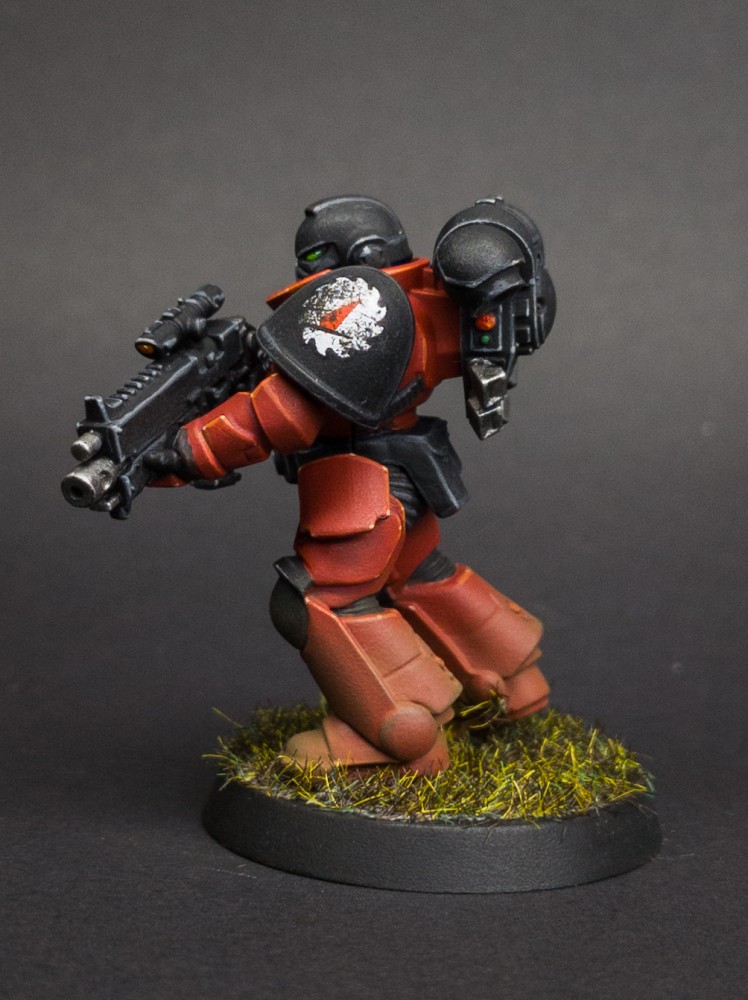
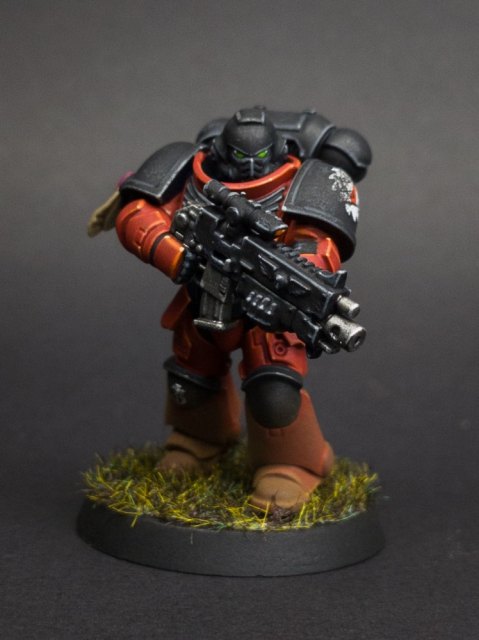
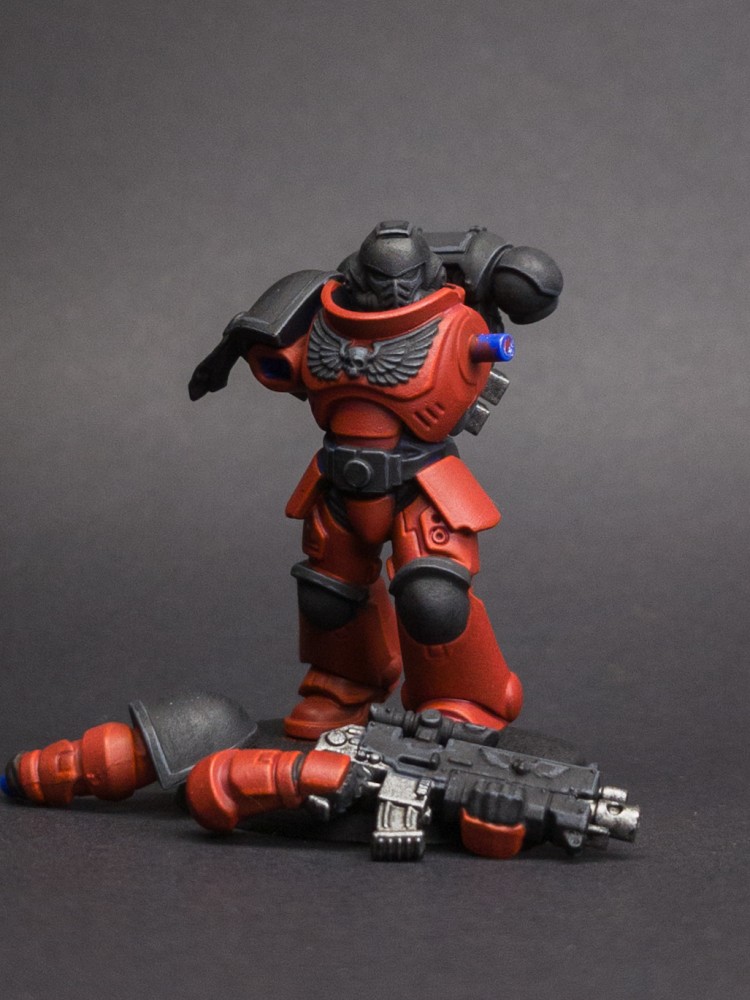
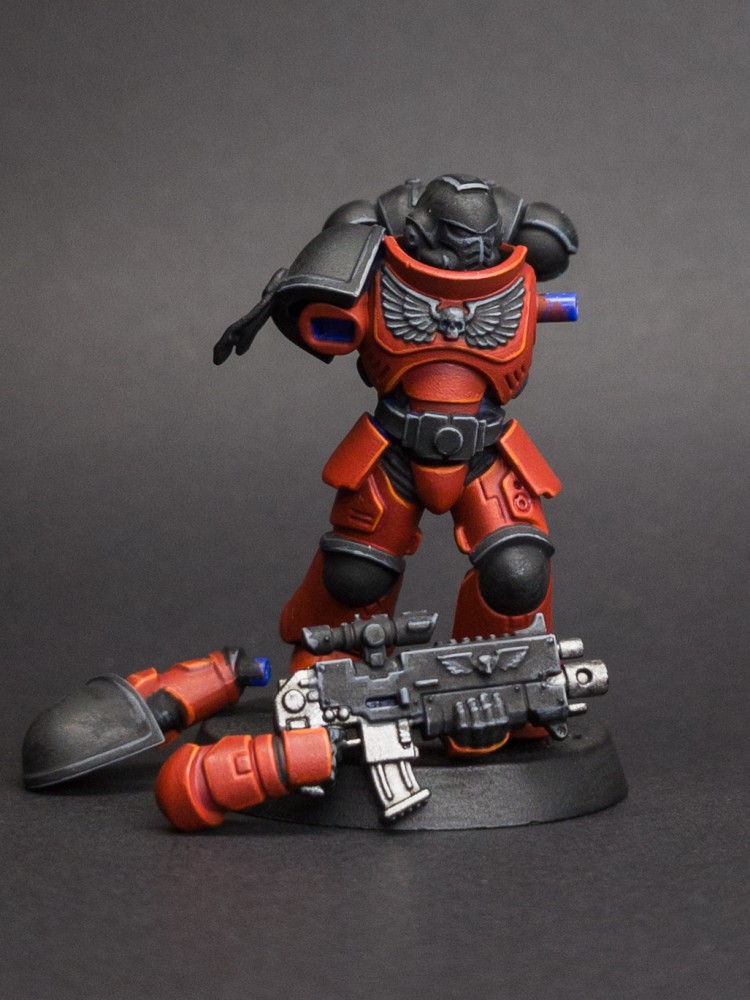
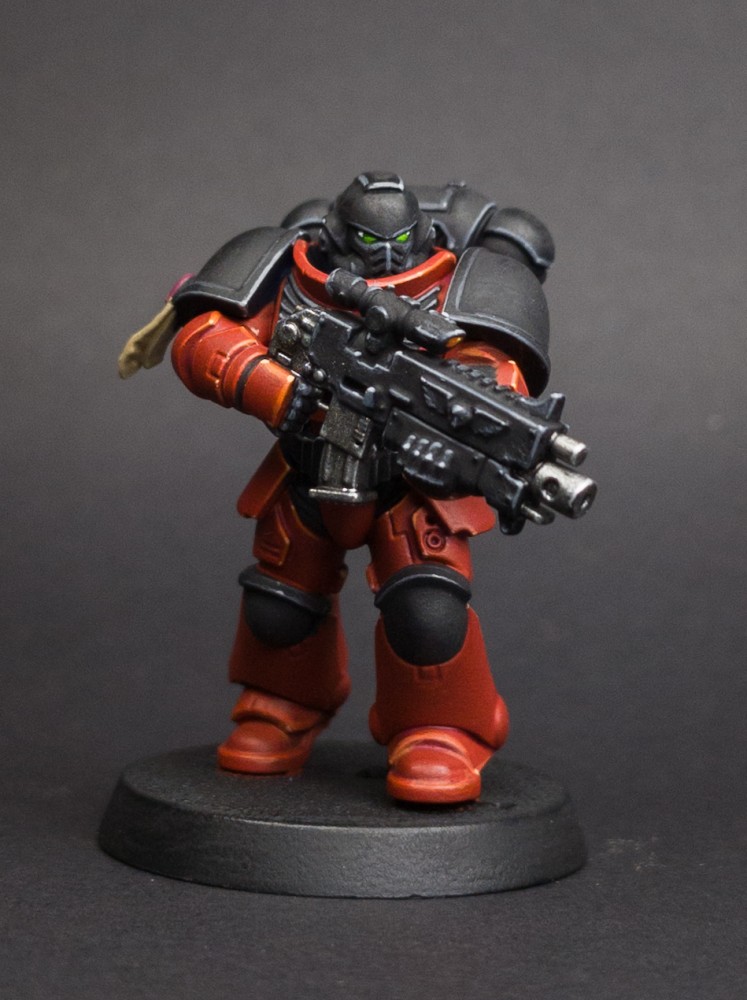
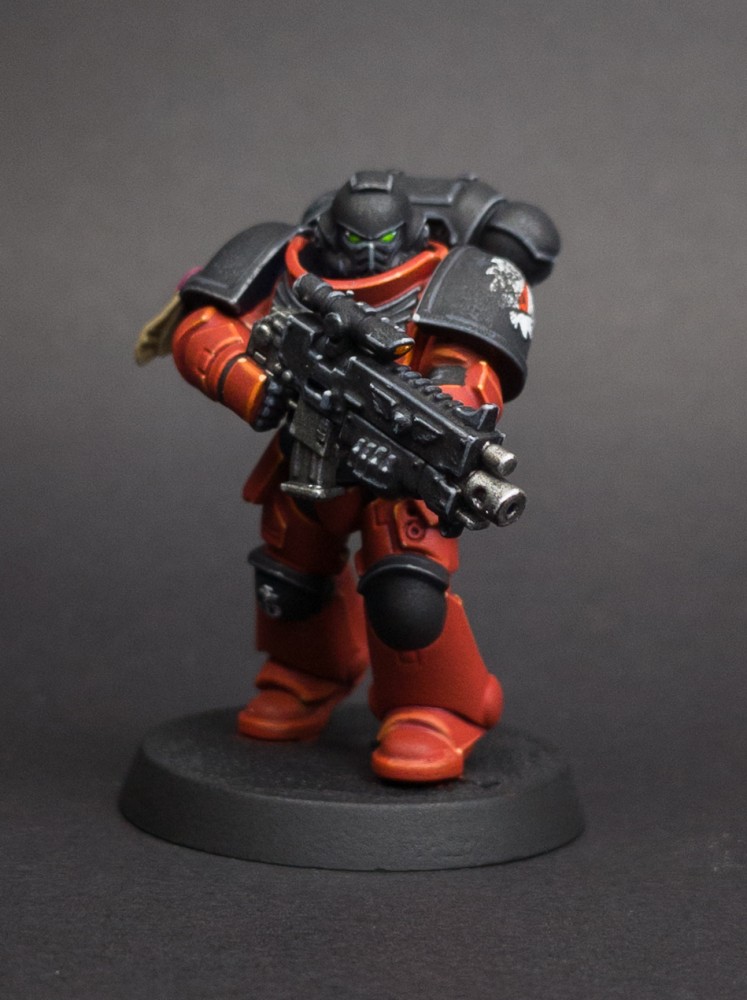
Start to finish, the way I paint a table-ready Flesh Tearer, a Blood Angels successor chapter: red armour with crisp edge highlights, a black helmet, shoulder pads and knee pads, and a little sponge weathering to finish. Each stage links to the recipes it uses, with the exact paints, and there's a photo after each step, so you can follow along with your own marine on the desk. The stages are the same for any chapter, so swap the colours and they work for yours too.
The paints
Before you start
Thin your paintAlmost everything here goes on thinner than it comes out of the pot. Neat paint dries thick and fills in the detail you paid for. Add water a drop at a time on a palette until it runs somewhere between milk and heavy cream, depending on the brand, then build the colour up in two or three coats rather than one.
Start on a primed modelUnless a step says otherwise, every recipe here begins on a model that has already been primed - paint will not sit properly on bare plastic. Black unless the scheme says otherwise, which is what most of these were painted over.
Build and clean
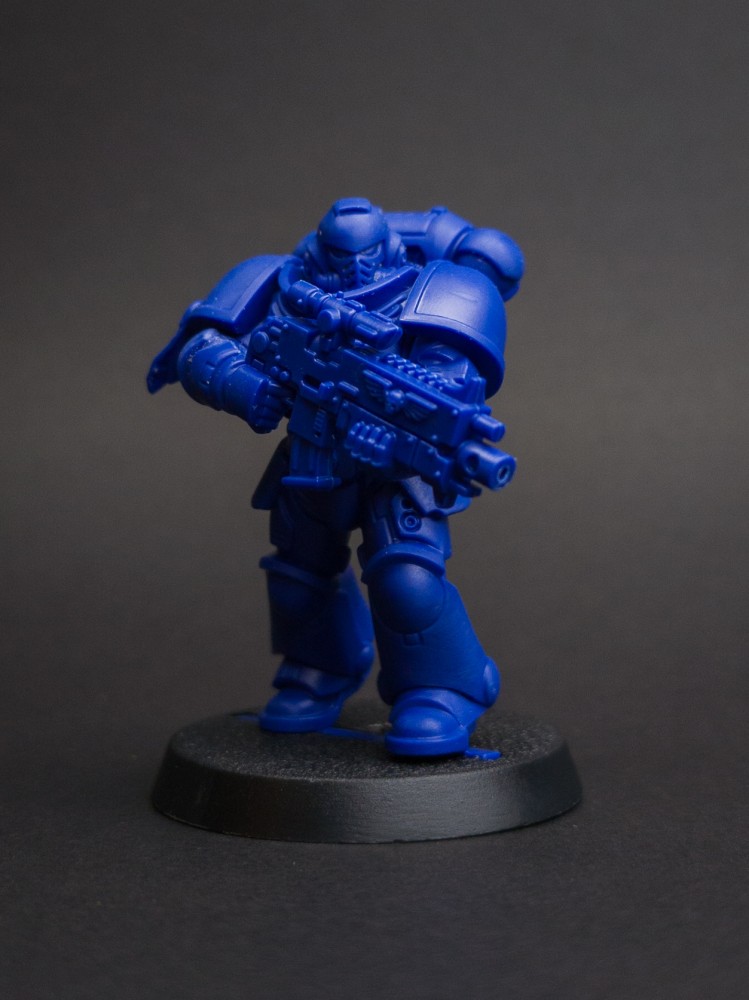
Clip the parts off the sprue, scrape off the mould lines, and glue the model together. I leave the arms and the bolter off until the end: the chest is much easier to reach with a brush, and the arms are easier to paint on their own.
Prime
Spray the whole model matte black so the paint has something to grip. Every recipe in this guide starts from black, and the deep red armour depends on it. Hold the can 15 to 20cm (6 to 8 inches) away and spray in sweeping passes: start each pass before the model and finish it after, so the spray never starts or stops on the model itself, which is where it spits and pools. My primer for every model is Pro Acryl Matte Black spray primer.
Paints for this stage
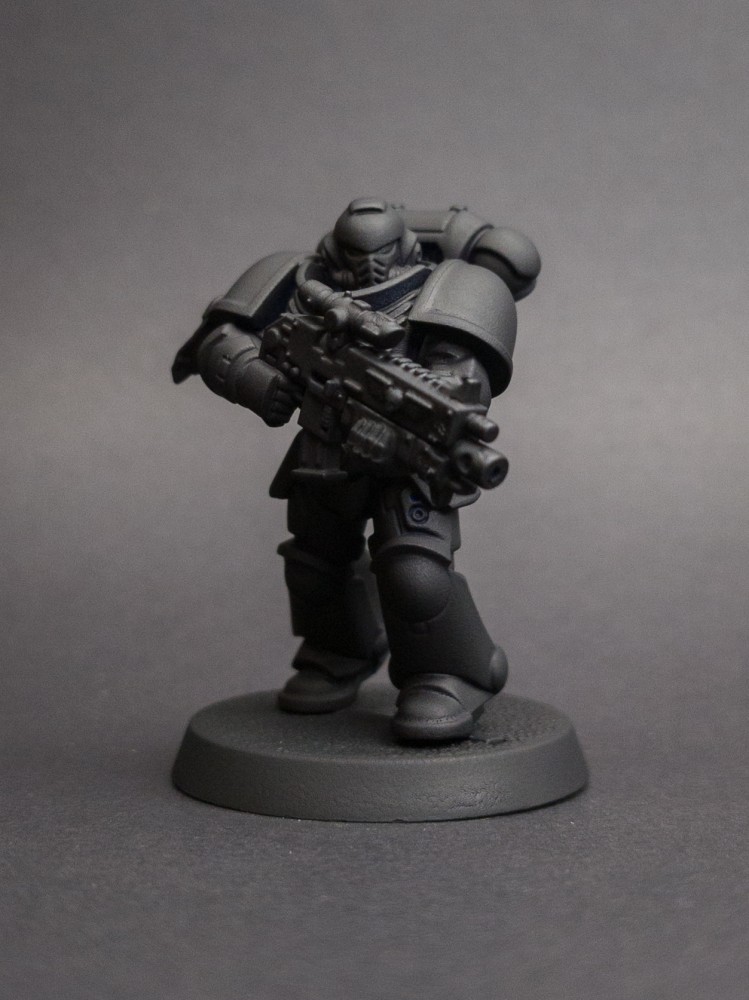
Basecoats
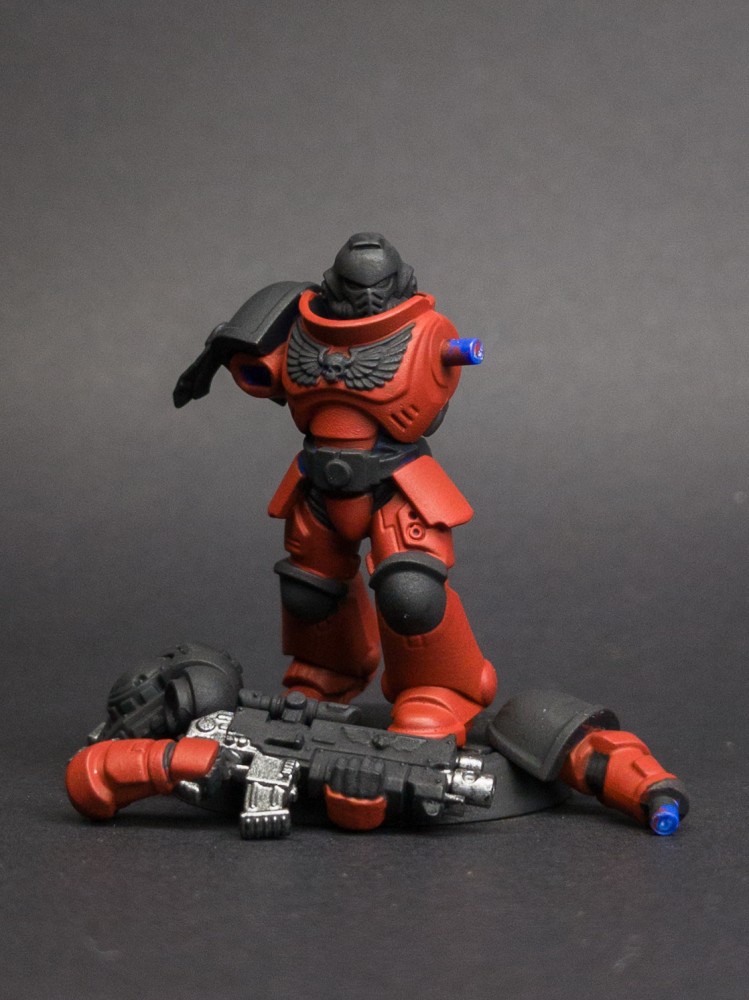
The armour first: Mephiston Red over every red panel. Then the black parts (the helmet, shoulder pads, knee pads, belt, chest eagle, backpack and bolter) in Coal Black, and the metal on the bolter in Leadbelcher.
From my recipes
- basecoat Coal Black Black Armour Base all that jazz
- basecoat Coal Black Black Weapons Base weapon
- basecoat Leadbelcher Black Weapons Barrels, clips
- basecoat Mephiston Red Blood Angels - Table Ready Base
- basecoat Deep Orange Intense + Ice Yellow (70.858) (1:1) Blood Angels - Table Ready Dot highlights
Shade
Khorne Red mixed 1:1 with Lahmian Medium goes into the recesses of the red armour. It needs a fine point on your brush, but don't worry about slips: a touch of Mephiston Red tidies them up. Then the metal: Nuln Oil over the gun barrels and clips darkens the recesses and dirties the steel. As you can see in the photos, the shade is subtle, but it makes the highlights in the next stage pop.
From my recipes
- wash Nuln Oil Black Weapons Barrels, clips
- shade Khorne Red + Lahmian Medium (1:1) Blood Angels - Table Ready Recess
Layers and edge highlights
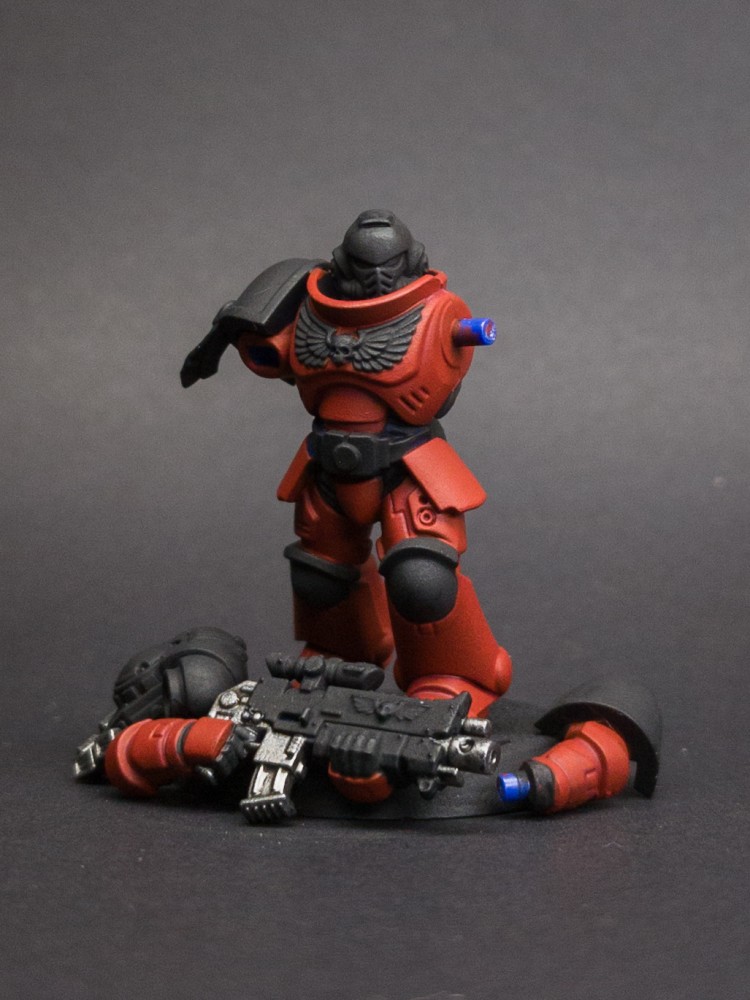
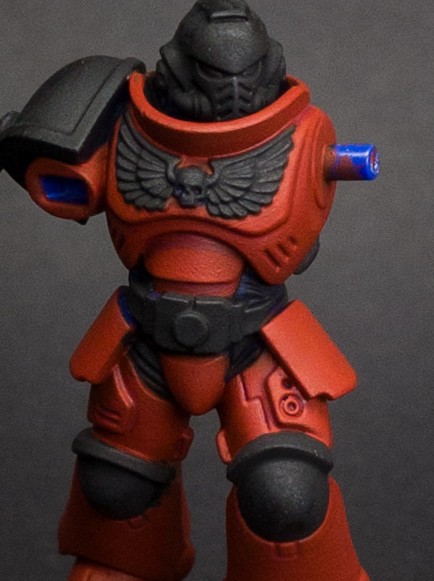
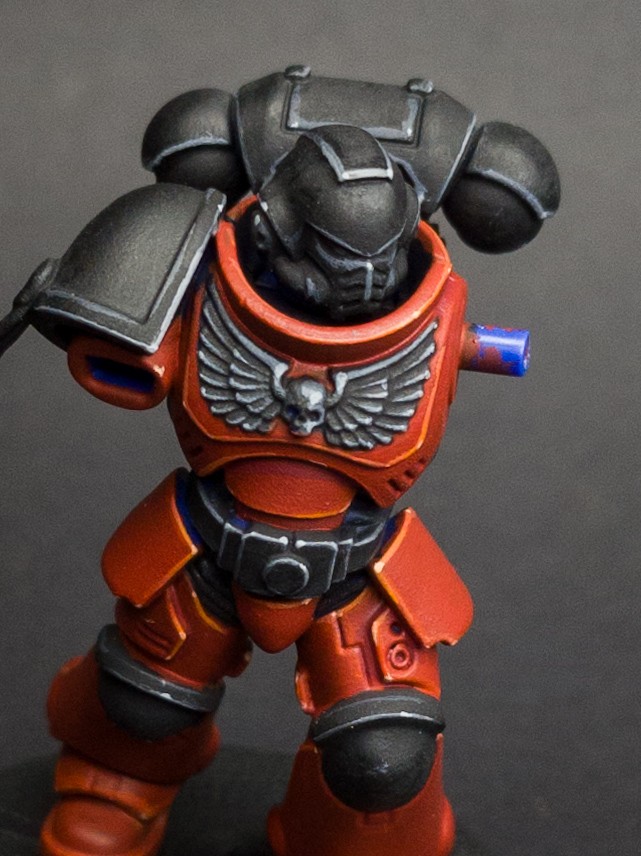
This is where the light comes in. Each colour goes on over less of the armour than the one before, so the edges get brighter towards the corners that catch the most light. I do the red and the black side by side: every step on the red has a matching grey step on the black. Last, Stormhost Silver along the top edges of the metal.
From my recipes
- edge Mechanicus Standard Grey Black Weapons Edge all panels
- highlight Wolf Grey (72.047) Black Weapons Dot highlights
- edge Evil Sunz Scarlet Blood Angels - Table Ready Chunky Edge
- highlight Wild Rider Red Blood Angels - Table Ready 80% of upper edges
- highlight Deep Orange Intense Blood Angels - Table Ready Extreme corners
Also in this stage
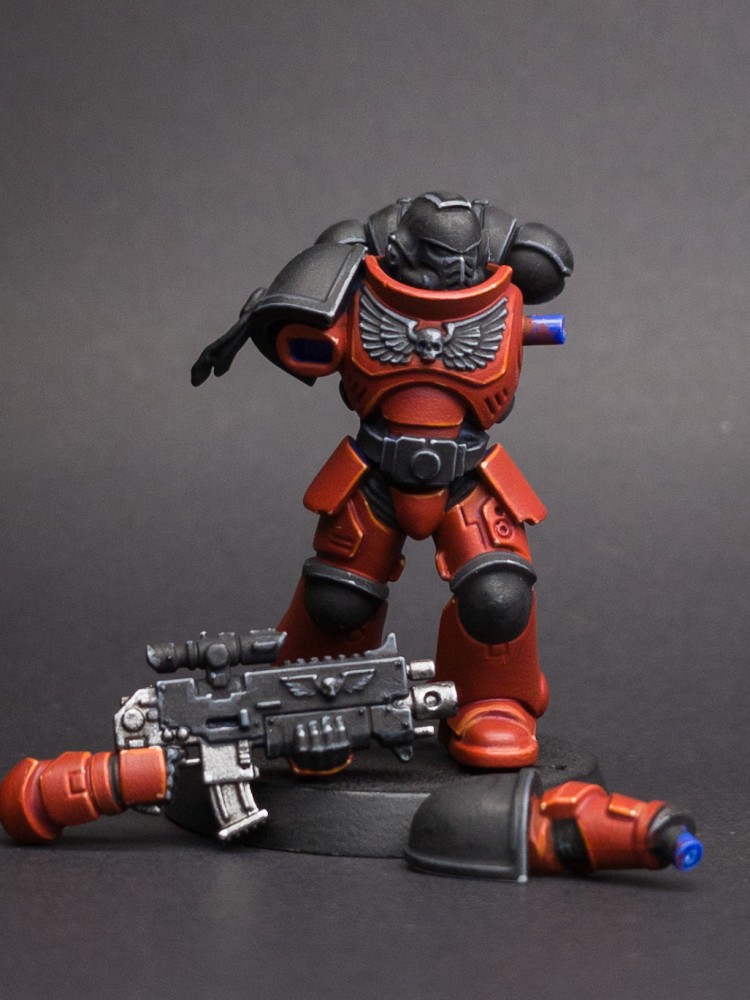
-
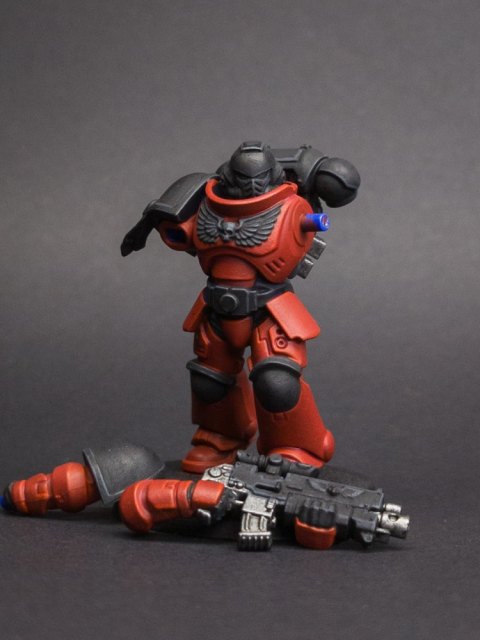
Red: Evil Sunz Scarlet, a chunky edge along every upper edge.
Black: Eshin Grey, the same chunky edge. -
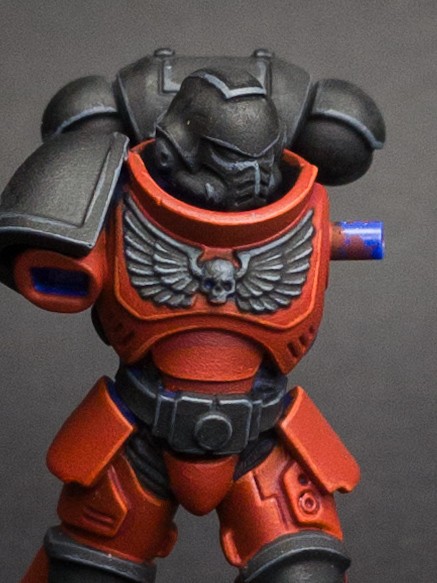
Red: Wild Rider Red, a thinner edge inside the first, along most of the upper edges.
Black: Mechanicus Standard Grey, the same thinner edge. -
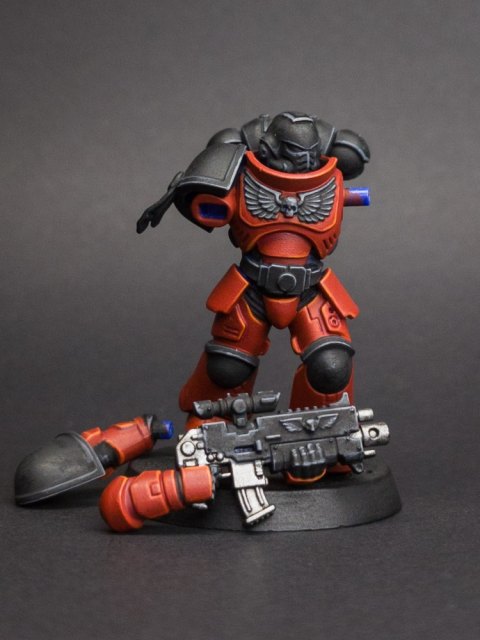
Red: Deep Orange Intense on the extreme corners and highest points.
Black: Dawnstone on the same points. -
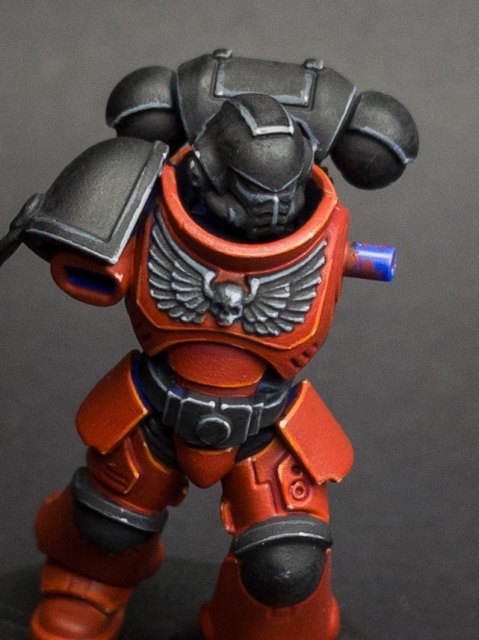
Red: dots of Deep Orange Intense mixed 1:1 with Ice Yellow on the brightest corners.
Black: Administratum Grey dots on the same corners.
Details
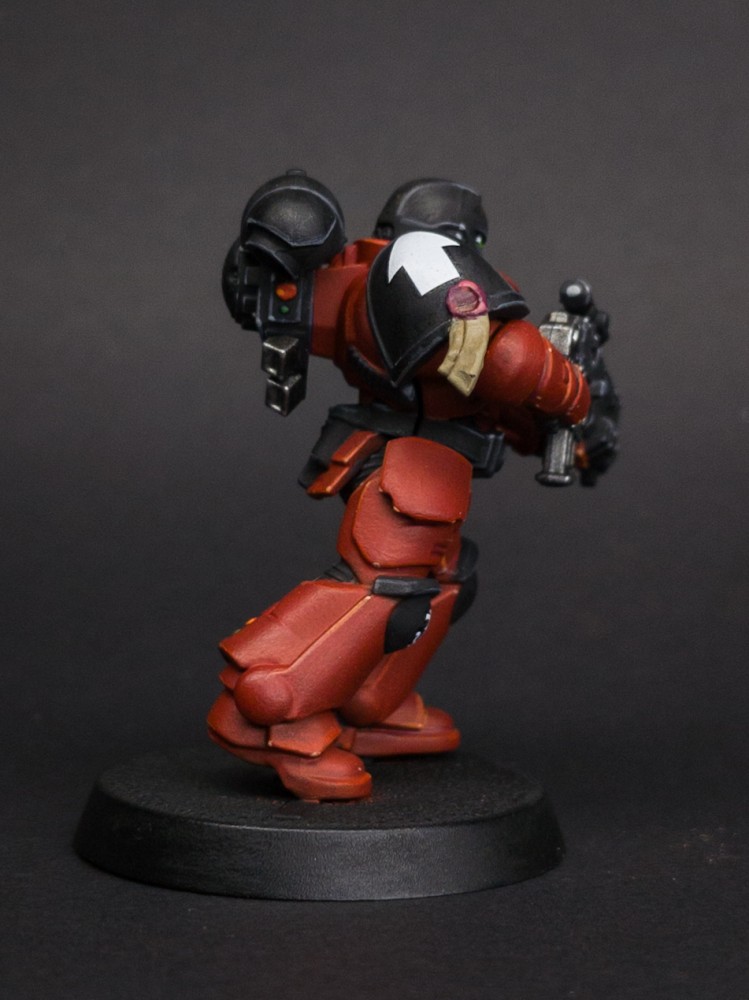
The small things that finish it. The eye lenses are Warpstone Glow, with Moot Green towards the front and a dot highlight in the far corner of each. On the bolter's scope, the front lens is orange and the rear one Bold Titanium White. The lit buttons on the backpack and the backs of the legs get red, orange and green. The purity seal on the shoulder pad is my Purity Seal recipe: Screamers Pink for the wax and Wraithbone for the parchment, both washed with Reikland Fleshshade.
Paints for this stage
Markings
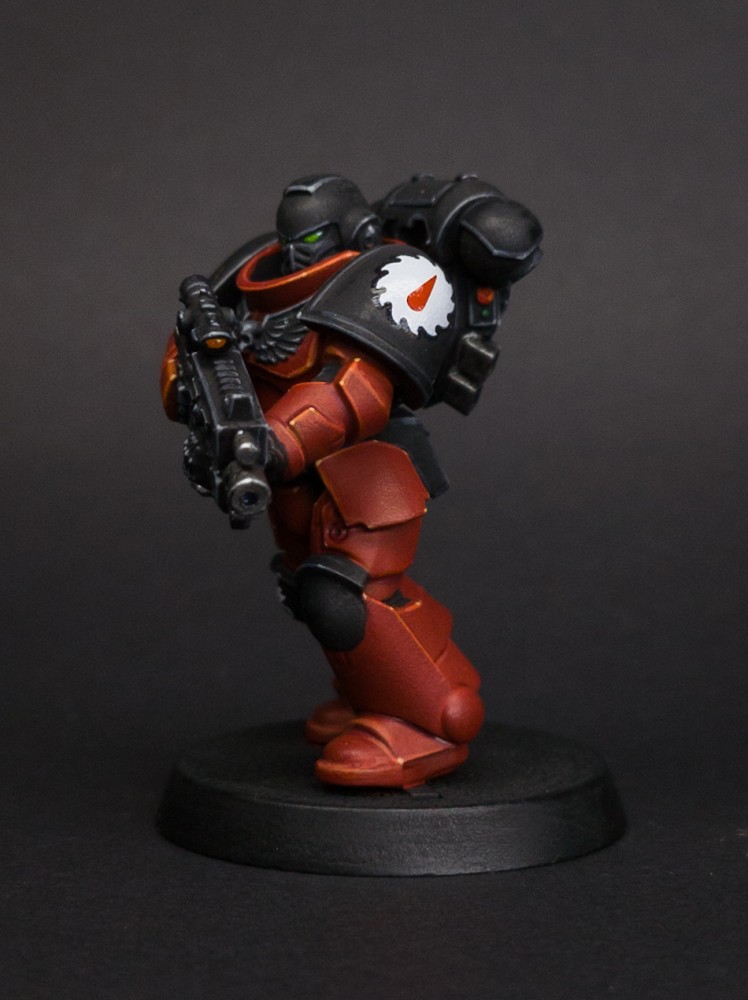
The chapter symbol and squad markings. For a decal, brush a little gloss varnish where it goes, slide the decal off its backing in water, and press it into place with a damp brush. I then use Micro Set and Micro Sol, which soften the decal so it melts into curves like the shoulder pads.
Weathering
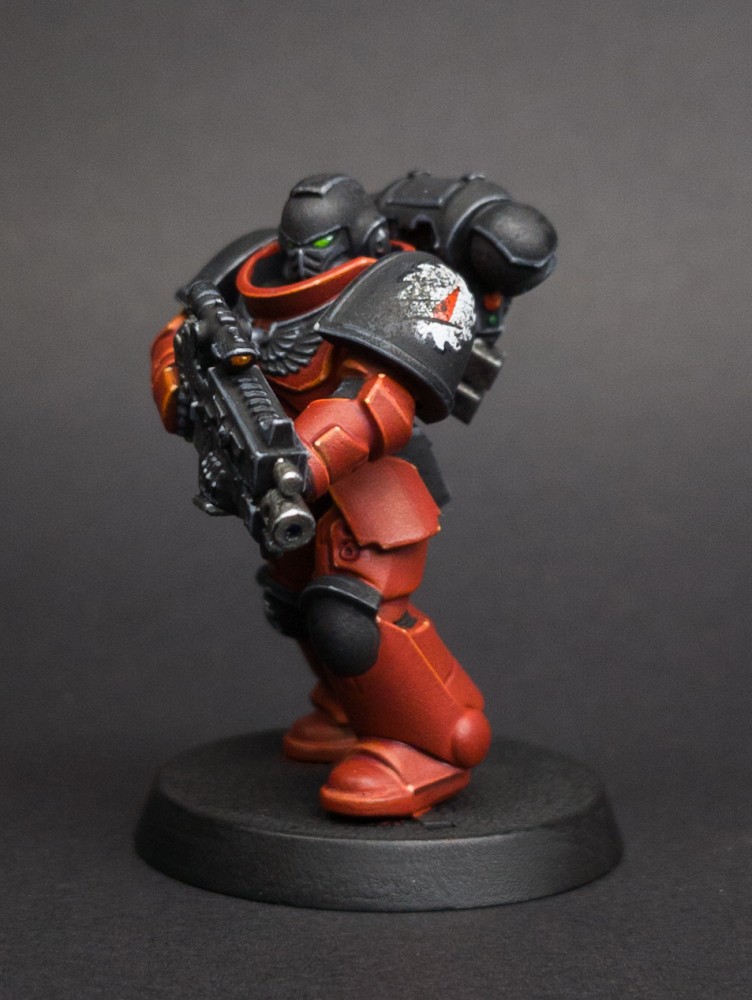
I weather with a torn sponge: chips of Eshin Grey first, then Coal Black, along the edges that would take the knocks, and then a few scratches.
Paints for this stage
Varnish
A coat of matte varnish to protect the paint from handling. It goes on before the basing, so the flock and the pigment stay unvarnished. Matte keeps the armour from shining; gloss would catch the light all over and flatten the highlights you worked for.
Basing
For my Flesh Tearer army I keep the bases simple: PVA glue, then grass flock sprinkled over it. The lower legs get a dusting of Burnt Umber pigment, and the rim a fresh coat of Coal Black.
Paints for this stage