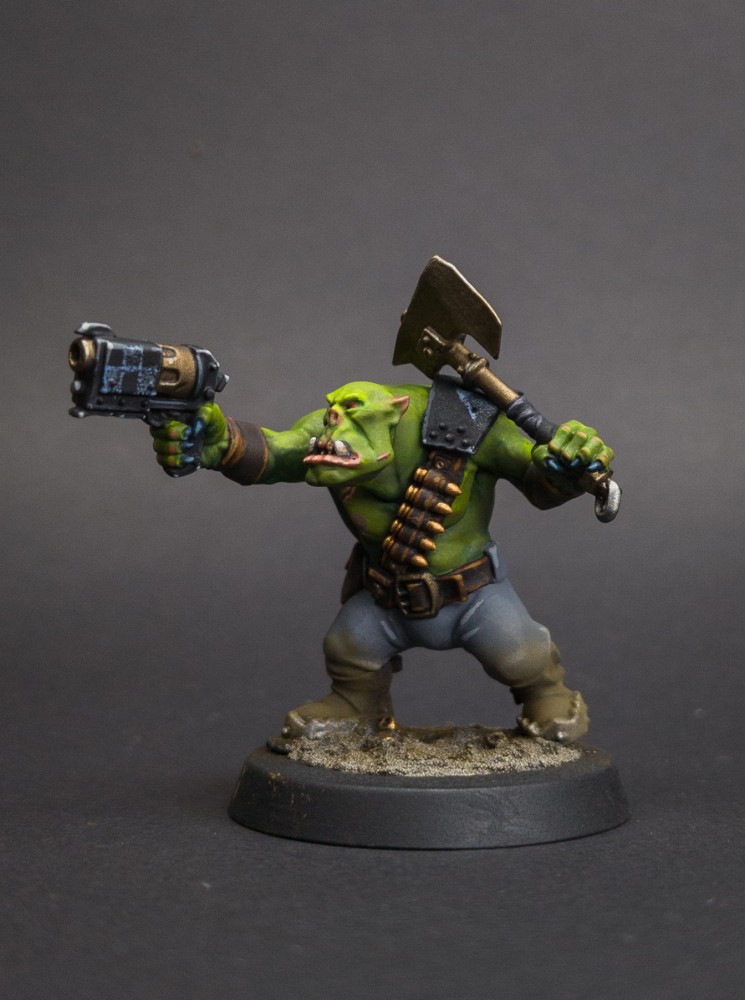
Start to finish
How I paint an Ork
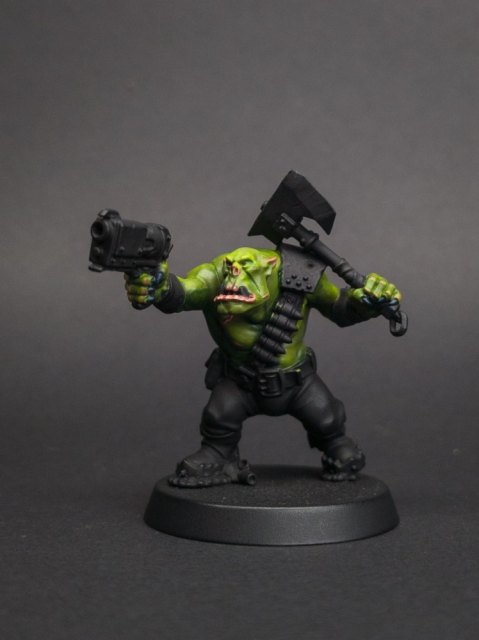
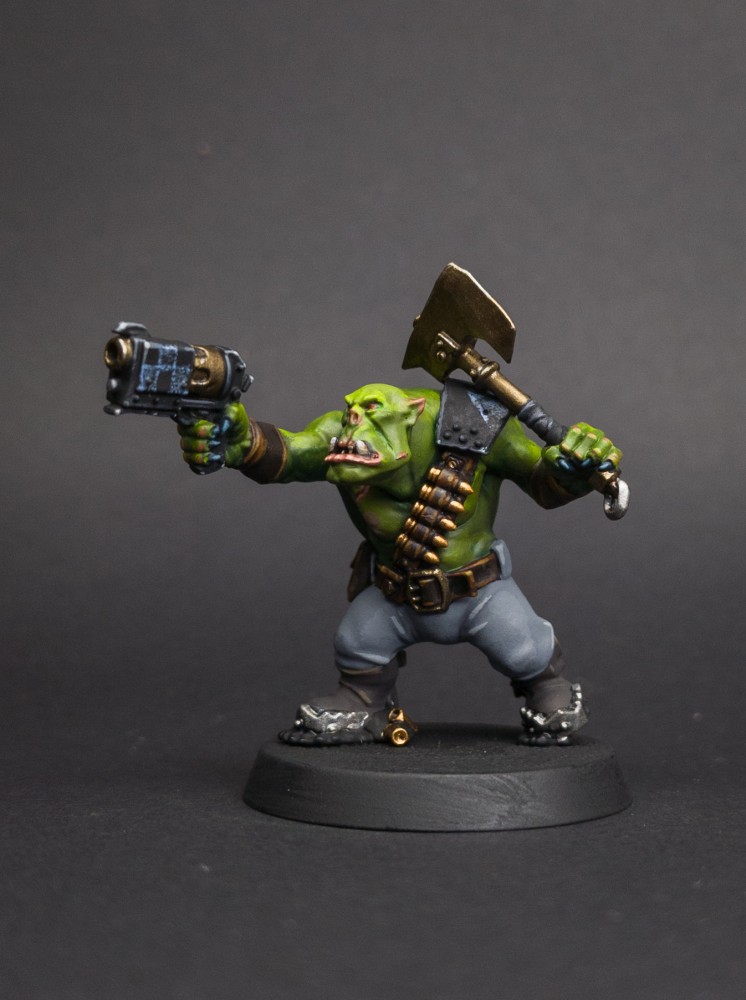
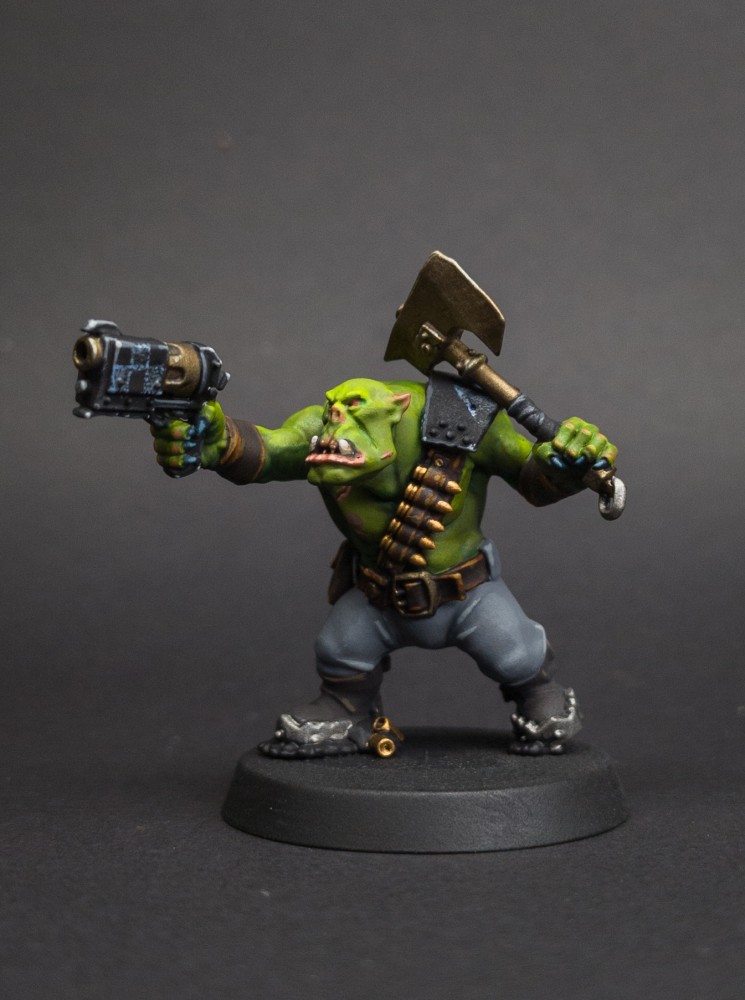
Start to finish, the way I paint an Ork Boy for my Armageddon Goffs: green skin built up from dark to bright, black armour with muted blue checks, bronze choppas and a dusty base. It goes in a different order from my Space Marine guide. The skin comes first, straight after priming, and from there I work outwards: the skin, then the leather that sits on it, then the armour plates over that, and last the weapons and banners, furthest from the body. Each layer covers the edges of the one beneath it, so a slip only ever lands on something not painted yet. Each stage links to the recipes it uses, with the exact paints, and there's a photo after each step.

The paints
Before you start
Thin your paintAlmost everything here goes on thinner than it comes out of the pot. Neat paint dries thick and fills in the detail you paid for. Add water a drop at a time on a palette until it runs somewhere between milk and heavy cream, depending on the brand, then build the colour up in two or three coats rather than one.
Start on a primed modelUnless a step says otherwise, every recipe here begins on a model that has already been primed - paint will not sit properly on bare plastic. Black unless the scheme says otherwise, which is what most of these were painted over.
Build and clean
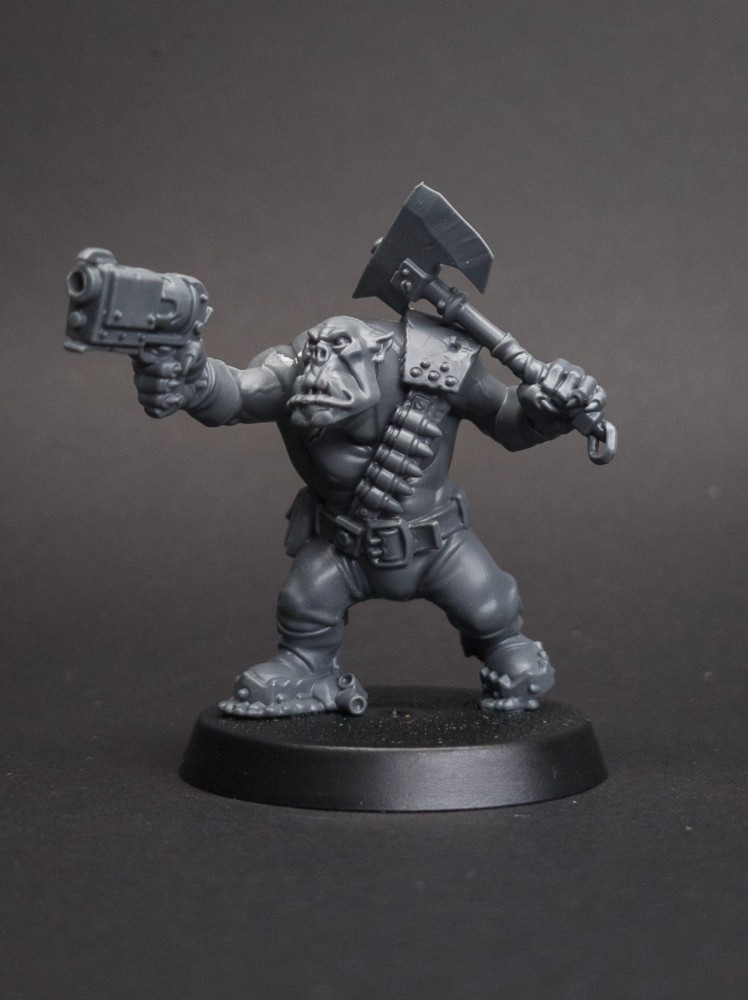
Clip the parts off the sprue, scrape off the mould lines, and glue the model together. Ork kits come with plenty of loose bits (choppas, shootas, trophy poles, banners), and if you can leave them off until the end, do: you paint an ork from the skin outwards, and a big choppa held across the chest is in the way of the skin behind it.
Prime
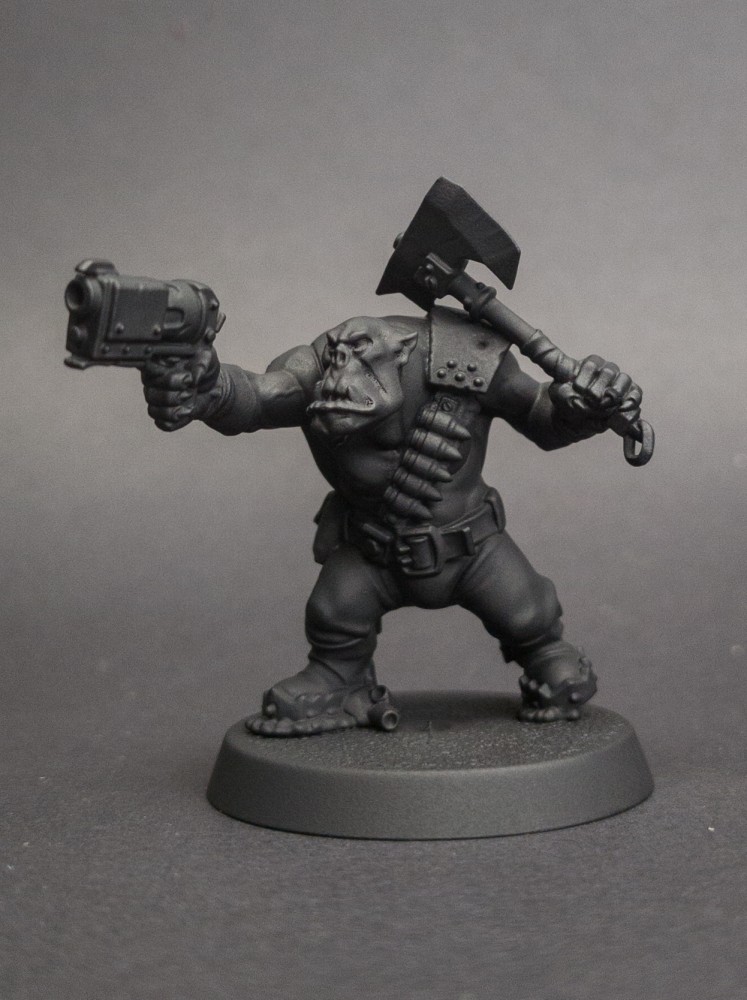
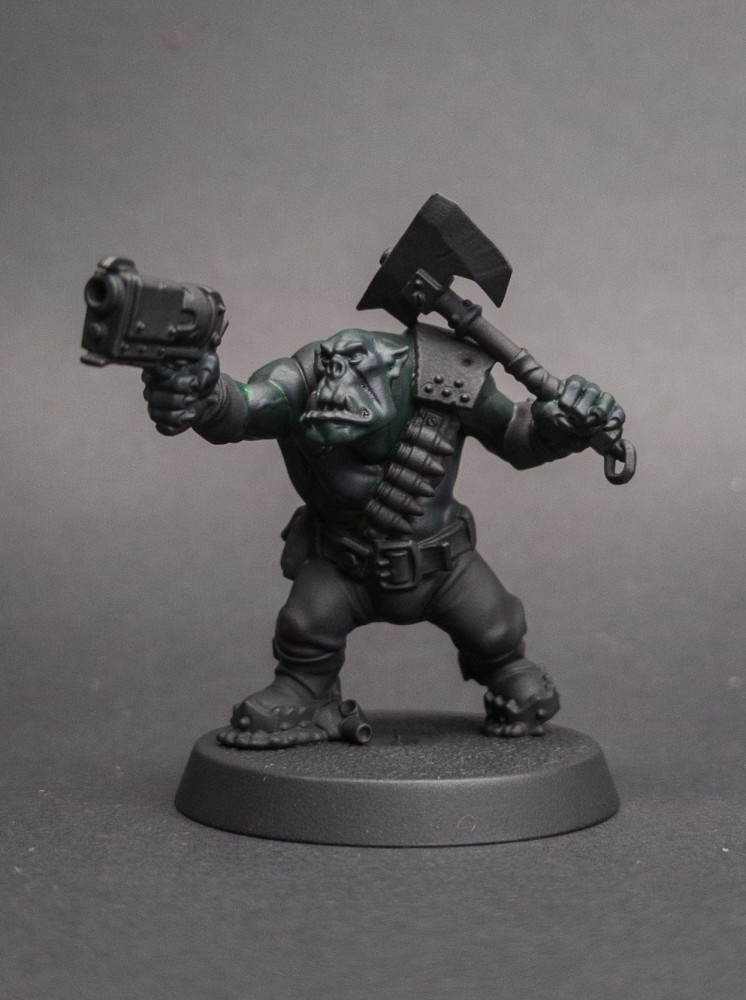
Spray the whole model matte black so the paint has something to grip. Every recipe in this guide starts from black. Hold the can 15 to 20cm (6 to 8 inches) away and spray in sweeping passes: start each pass before the model and finish it after, so the spray never starts or stops on the model itself, which is where it spits and pools. My primer for every model is Pro Acryl Matte Black spray primer.
Paints for this stage
Skin
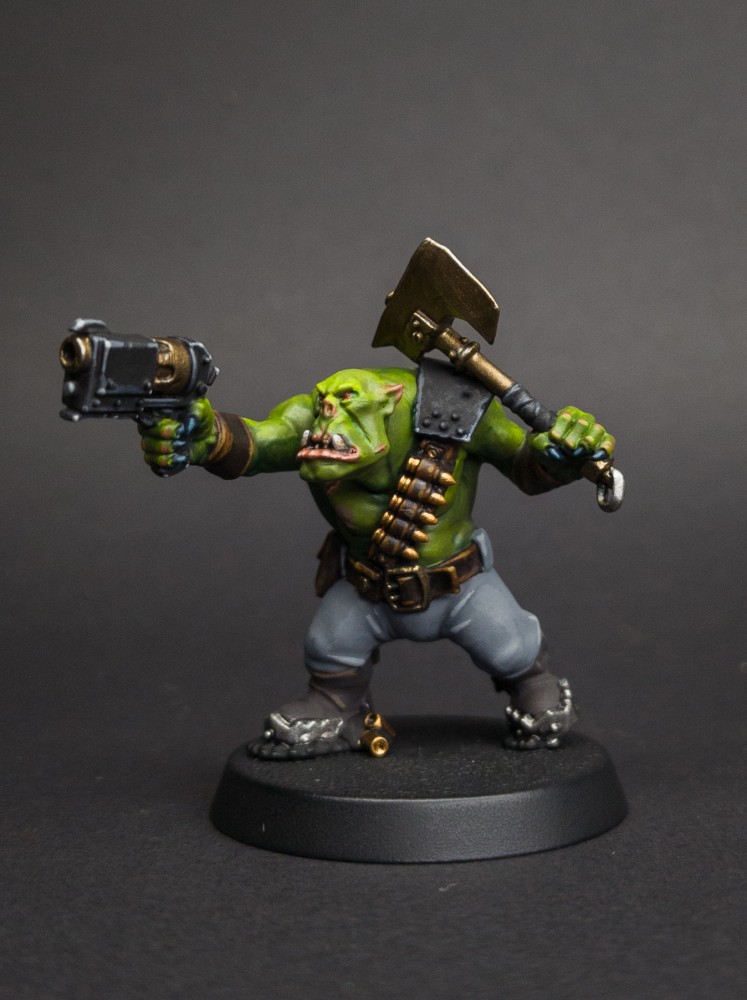
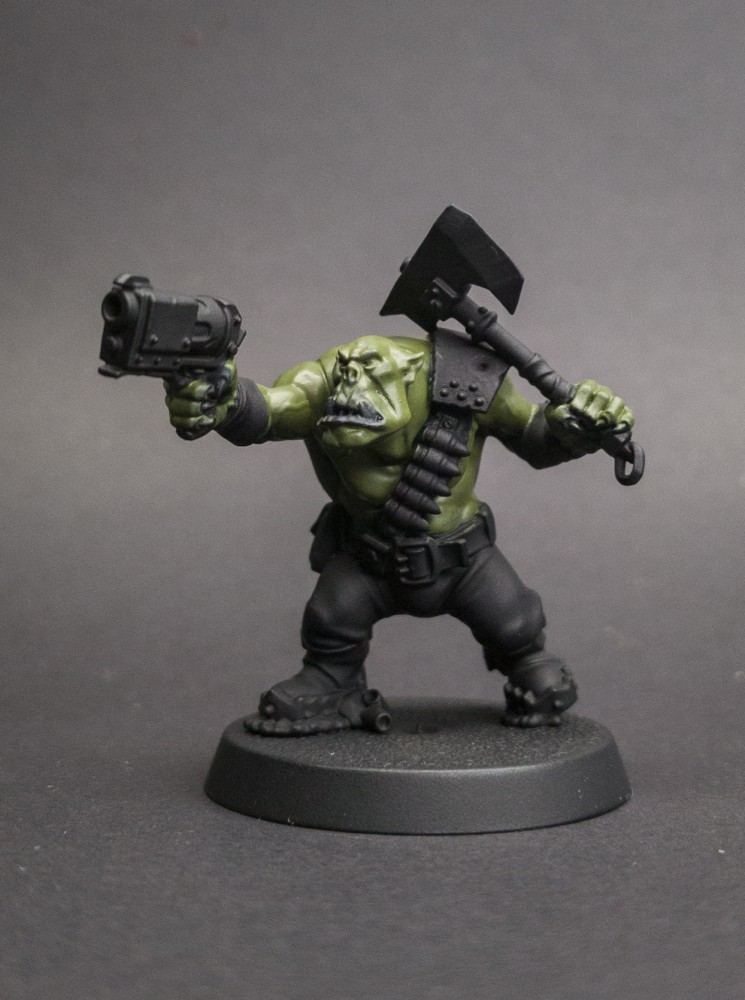
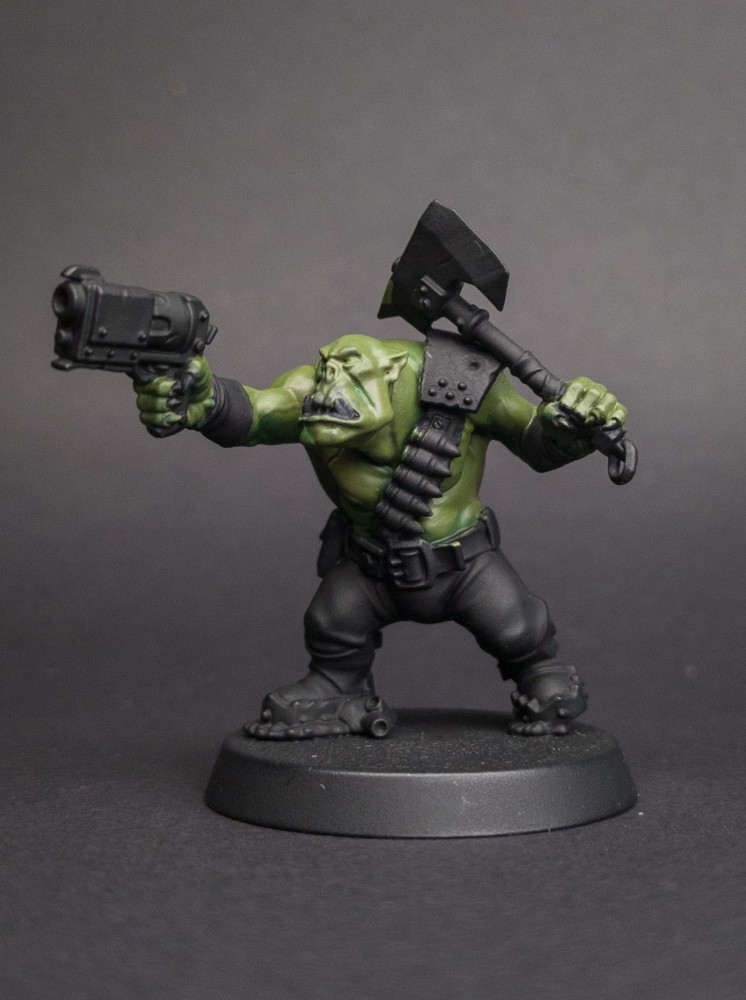
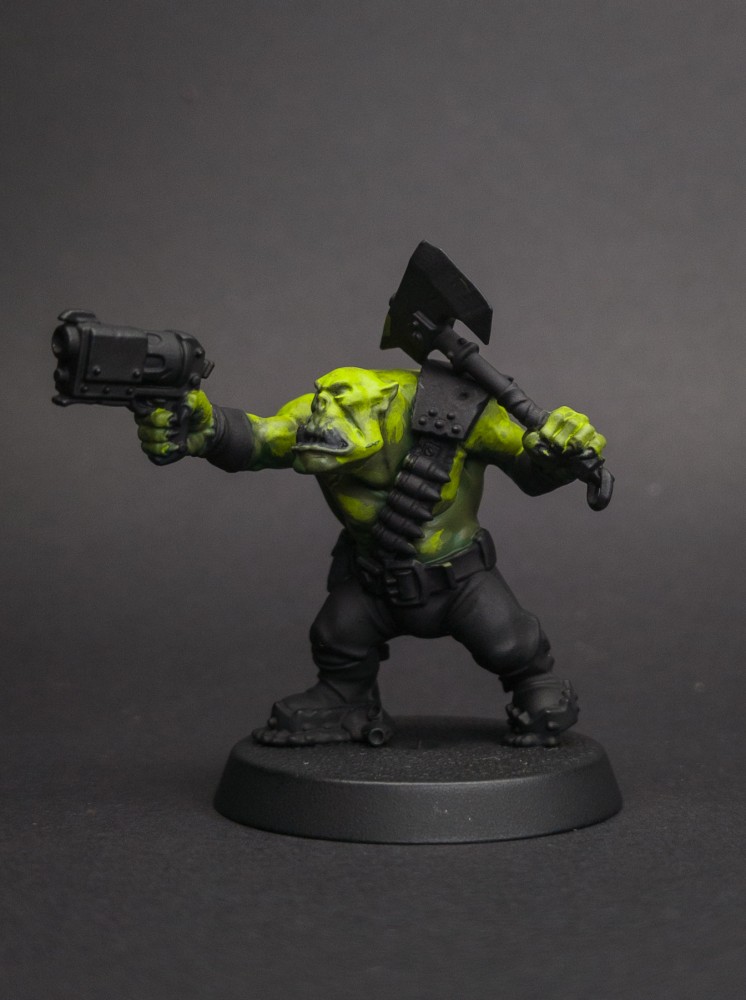
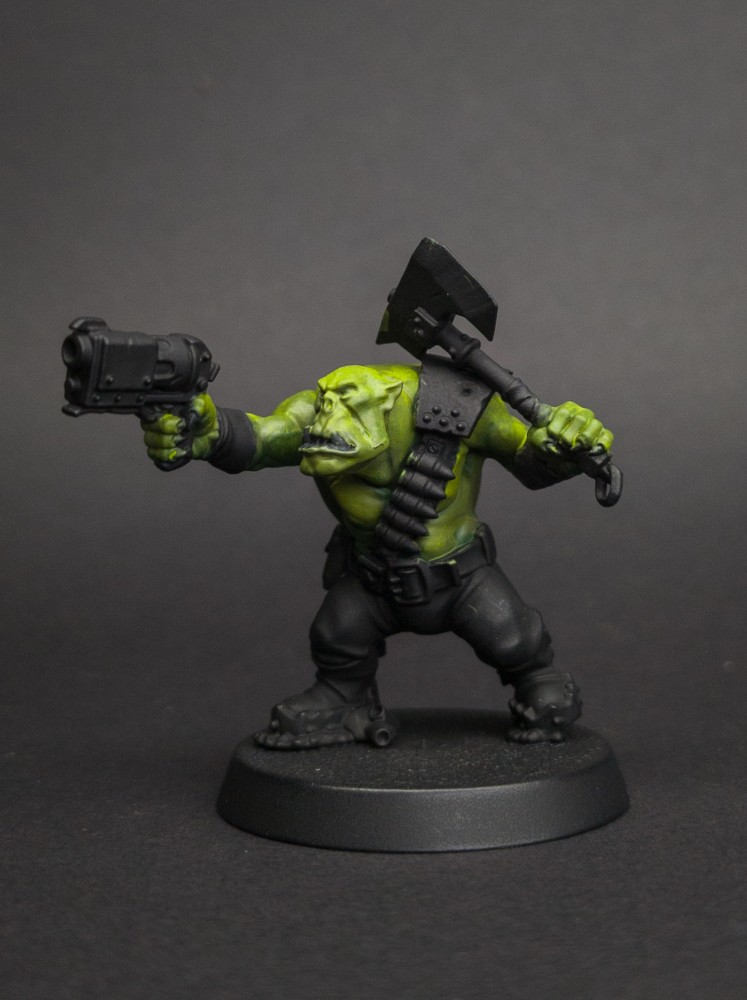
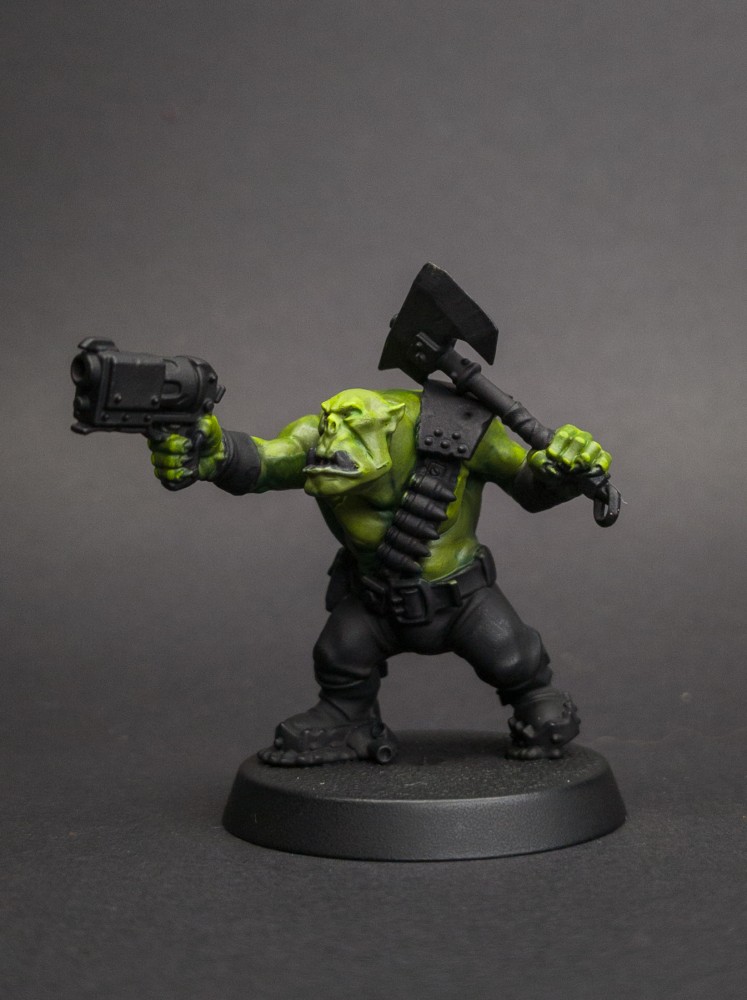
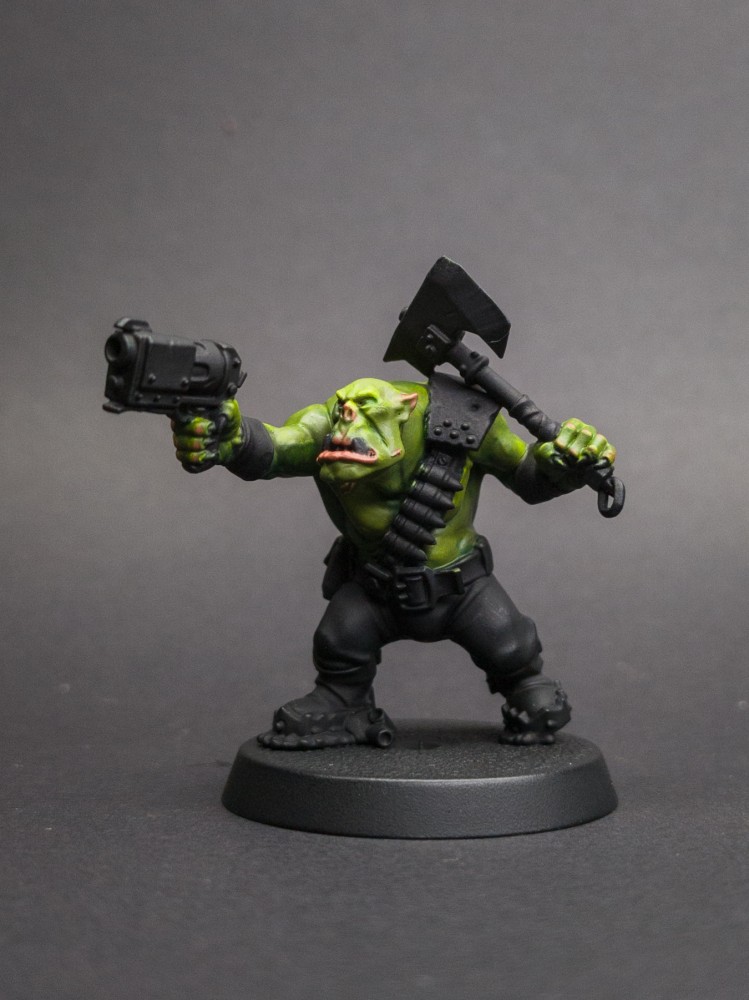
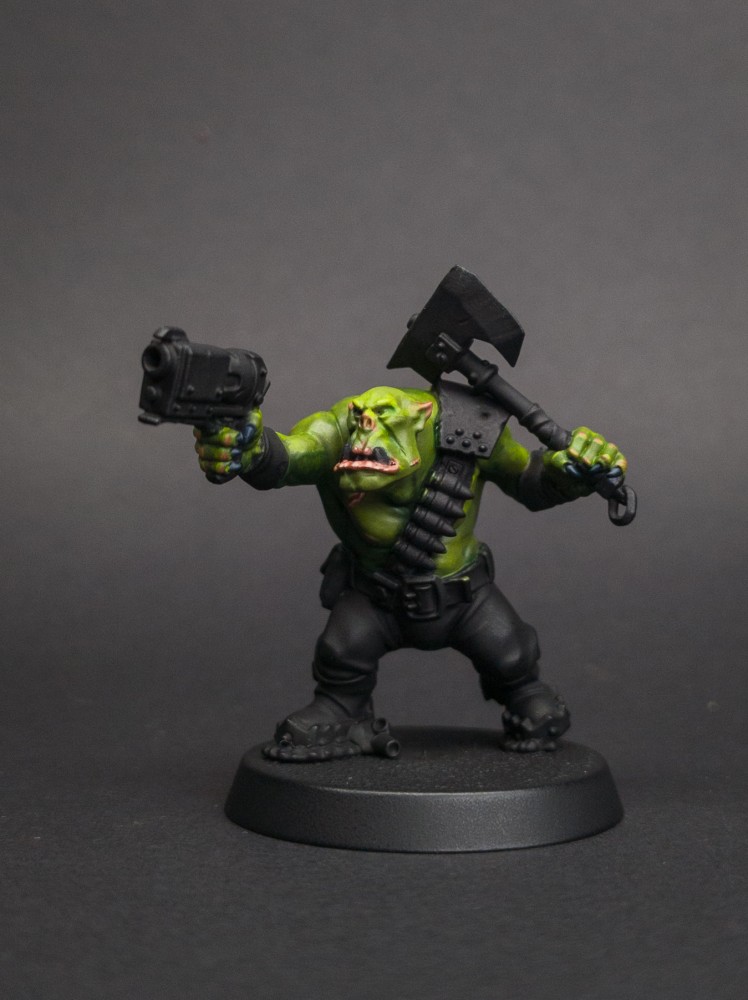
Orks are mostly skin, so it's the biggest job on the model and the first thing I paint after priming. It's built up from dark to bright: Dark Green over all of it, then three brighter greens, each over less of the skin than the one before, so the brightest sits only on the tops of the muscles. Once those rough layers are in, I blend them with glazes of 50/50 mixes of each pair of greens. Then one more series of highlights, and the one wash the skin gets: Dark Green thinned right down and run into the recesses. It's very subtle, but it brings it all together. Last, a little Tuskgor Fur glazed onto the knuckles, elbows and parts of the face to bring some pink to the surface. (Note: It'll look rough in between the stages, but that's OK. Trust the process!)
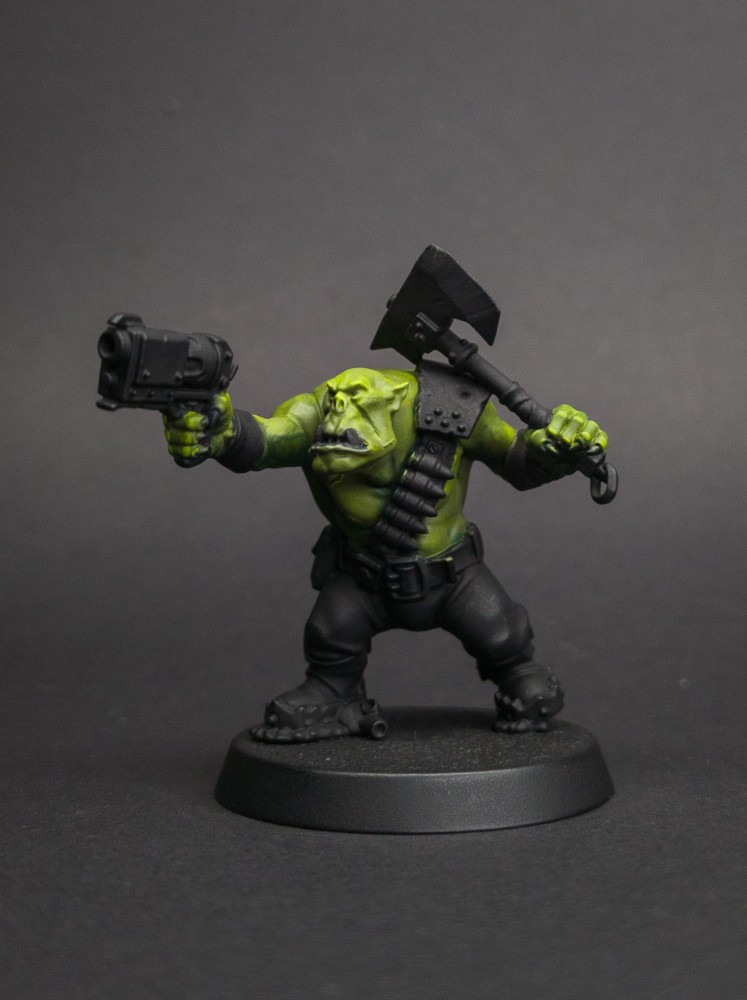
While the greens are out I do the lips: Bugman's Glow, then Tuskgor Fur for the cracks and highlights, in downward strokes so the lips look cracked, then a 70:30 mix of Tuskgor Fur and Ice Yellow to make them glisten. The scars are Burgundy, edged with Tan Flesh.
If you'd rather work in Pro Acryl, my Ork Flesh - Pro Acryl Version swaps the greens for Black Green, Yellow Green and Bright Yellow Green, for a more realistic skin, if you will.
From my recipes
- basecoat Bugman’s Glow Lips Base with this colour
- highlight Tuskgor Fur Lips 20% of lips in this colour
- highlight Ice Yellow (70.858) + Tuskgor Fur (1:2) Lips Blend to lip cracks
- basecoat Dark Green (72.028) Ork Flesh Base all skin
- layer Cayman Green (72.067) Ork Flesh 80% of upward facing flesh
- layer Lime Green (70.827) Ork Flesh 40% of Cayman layer
- highlight Yellow Green (70.954) Ork Flesh 10% of Lime layer
- glaze Tuskgor Fur Ork Flesh 1 part paint to 4 parts thinner
- basecoat Incubi Darkness Ork Flesh Fingernail base
- highlight Wolf Grey + Incubi Darkness (1:2) Ork Flesh Fingernail highlights
- highlight Wolf Grey + Incubi Darkness (2:1) Ork Flesh Fingernail bright highlight
- highlight Wolf Grey Ork Flesh Fingernail dot highlight
Also in this stage
-
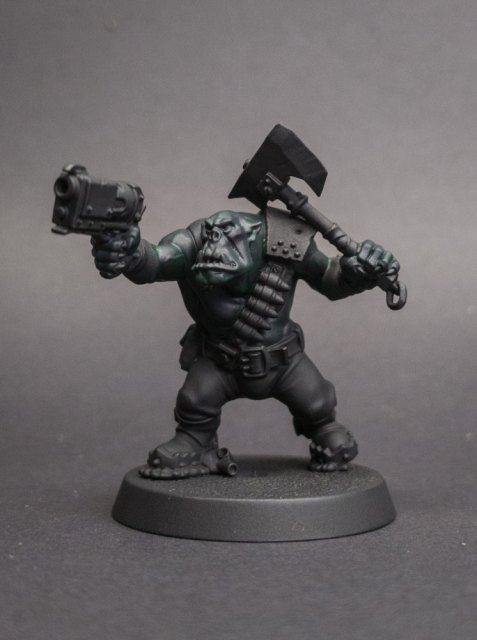
Dark Green over all of the skin, in two thin coats.
-
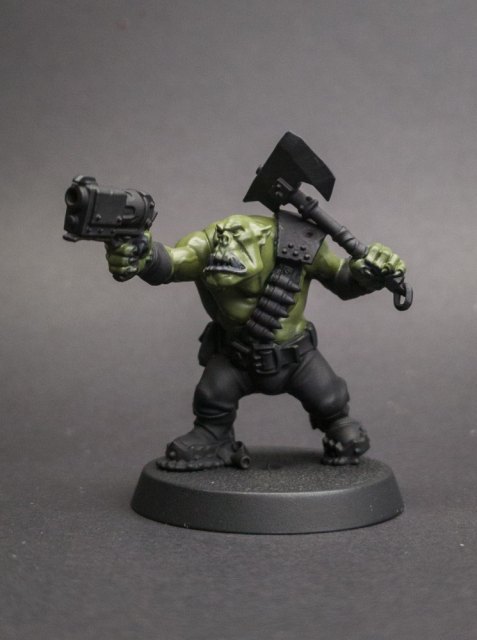
Cayman Green over about 80% of the skin: everything that faces up, leaving the Dark Green underneath and in the folds.
-
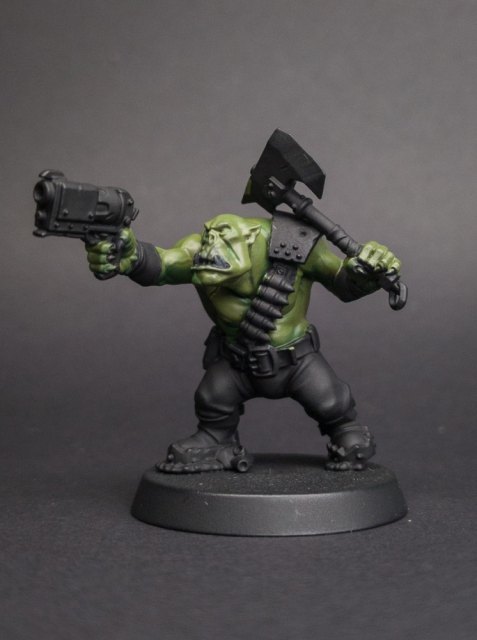
The blend: a 50/50 mix of Dark and Cayman greens, thinned to a glaze, worked over each join until the layers run into one another.
-
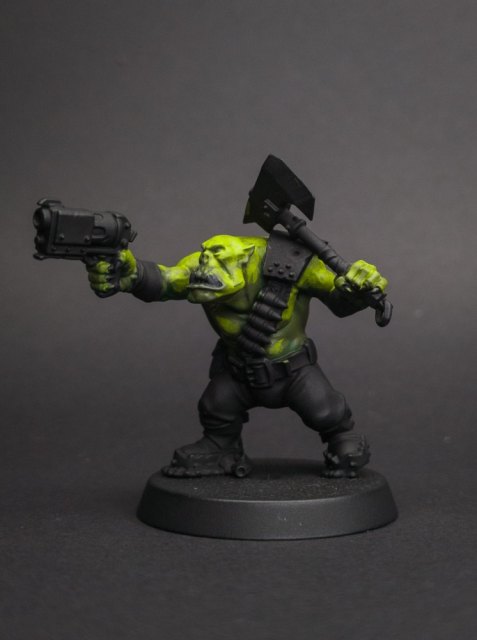
Lime Green over about 40% of the Cayman, nearer the tops of the muscles.
-
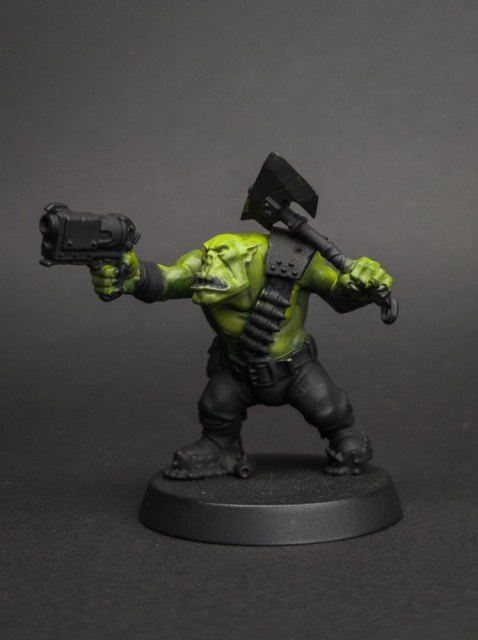
The blend: a 50/50 mix of each pair of greens, thinned to a glaze, worked over each join until the layers run into one another.
-
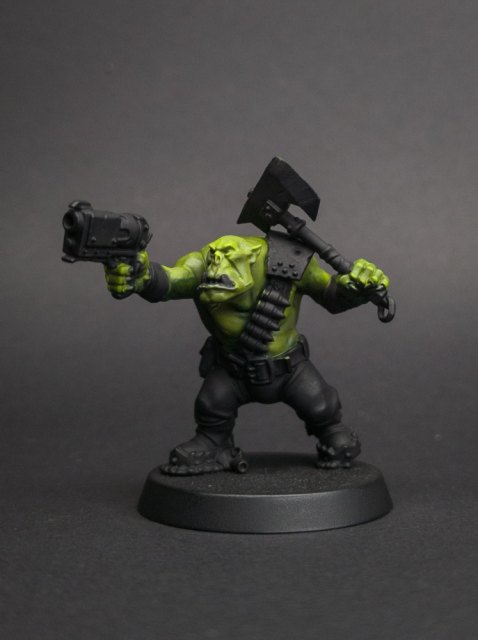
One more series of highlights: Yellow Green on the highest 10% of the Lime, the brow, the knuckles and the tops of the shoulders.
-
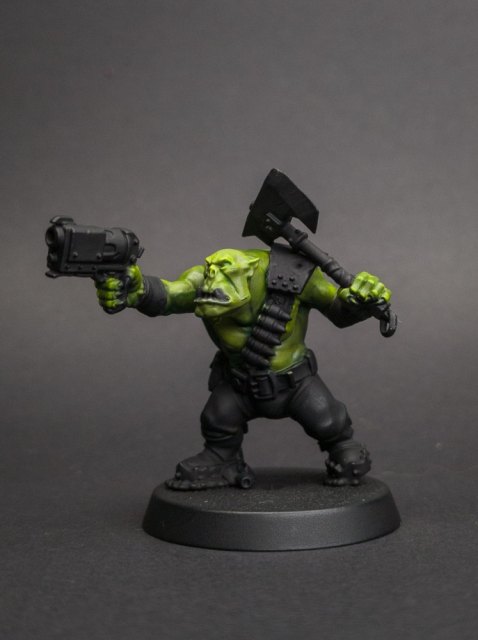
Dark Green thinned right down with Lahmian Medium to a wash and run into the recesses. Very subtle, but it brings it all together.
-
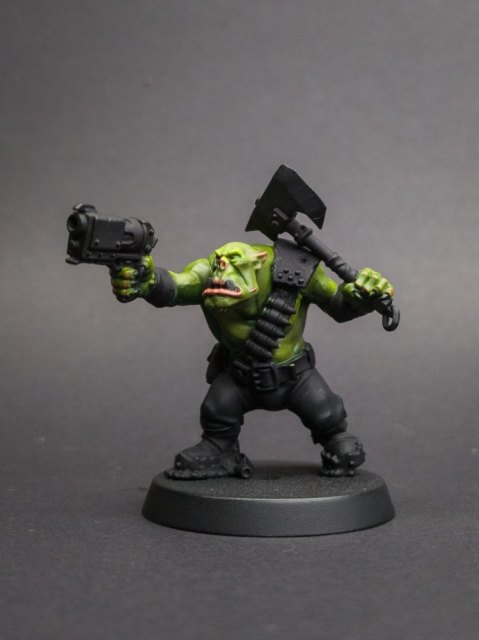
Tuskgor Fur thinned 1:4, glazed onto the knuckles, elbows and parts of the face. Then the fingernails, the scars, and the lips: Bugman's Glow, then Tuskgor Fur for the cracks and highlights.
-
Glistening highlights on the lips: a 70:30 mix of Tuskgor Fur and Ice Yellow.
-
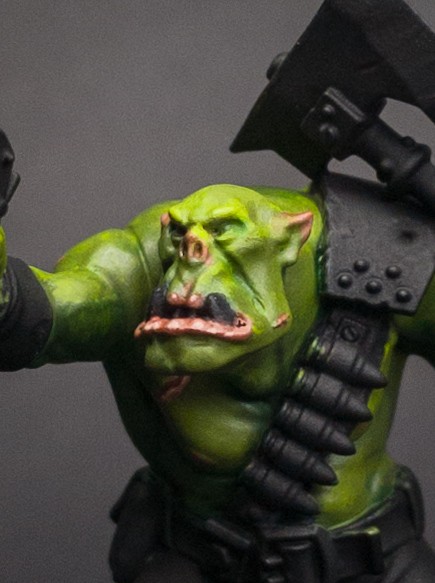
Detail of the finished lips.
Basecoats
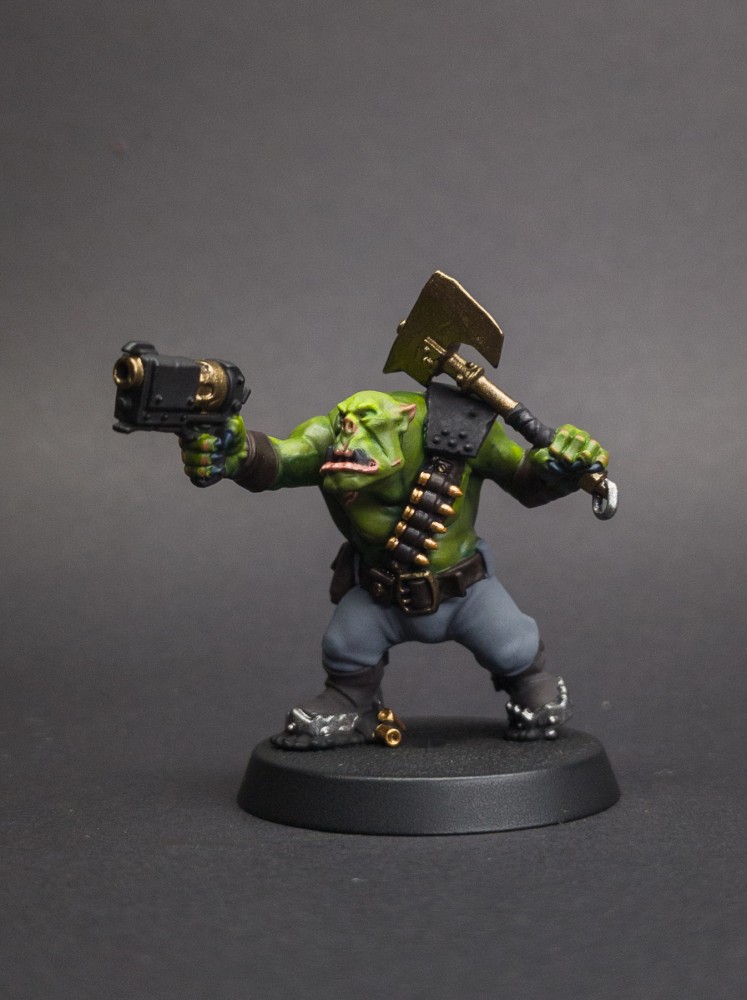
Now the gear, from the skin outwards. First the leather that sits right on the skin, the straps, wraps and belts, in Rhinox Hide, with Abaddon Black mixed 1:2 with Lahmian Medium run into its recesses. Then the chest leather and boots in Black Brown. Then the armour plates and the black parts of the guns in Coal Black. Last, furthest out, the choppa blades and gun barrel in Bronze, the bare steel in Leadbelcher, and the casings in Copper. The pants are a warm grey.
From my recipes
- basecoat Rhinox Hide Brown Leather Base all leather
- basecoat Abaddon Black + Lahmian Medium (1:2) Brown Leather Shade all leather recesses
Also in this stage
Shade
Not the skin, which is done: this is for the gear. Agrax Earthshade over the bronze weapons dirties them and darkens the recesses, and Nuln Oil does the same for the steel.
Paints for this stage
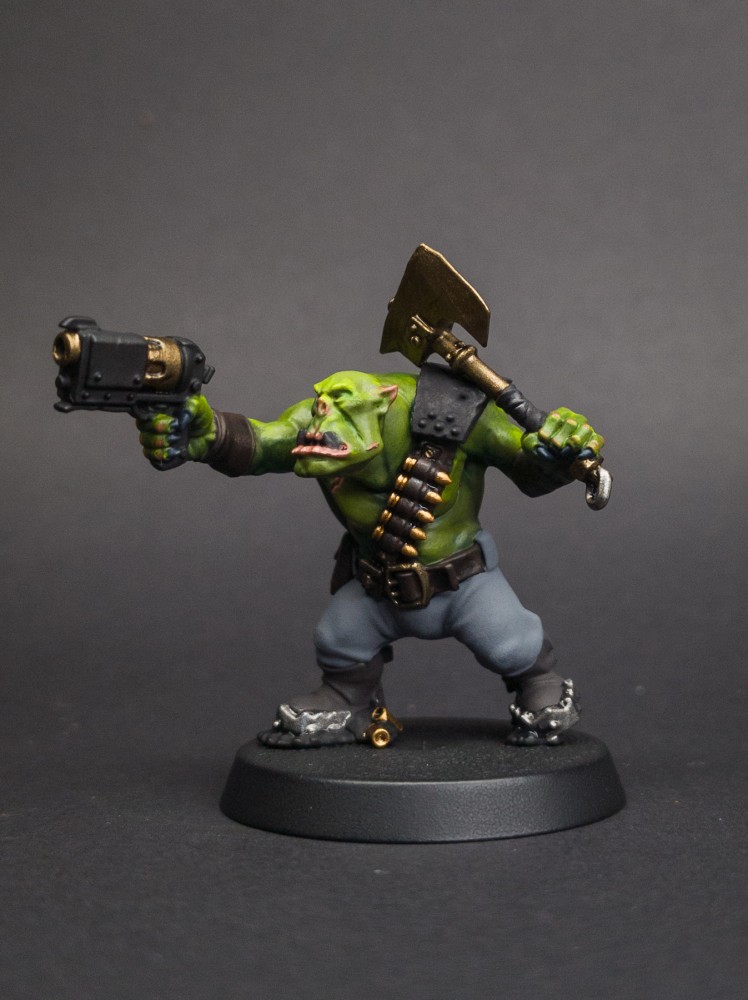
Layers and edge highlights
The leather first, since it sits on the skin: Doombull Brown in chunky highlights, Skrag Brown scratched in for damage, XV-88 along the edges in shaky lines, and a few dots of Ushabti Bone. The boots get Black Brown along the edges and Light Umber on the highest points. The black armour gets the same greys as my Space Marine's black: Eshin Grey edges, then Mechanicus Standard Grey, then a dot of Adminisratum Grey on the brightest corners. The eyes get Mephiston Red, the bronze Light Bronze, and a few subtle highlights of Corvus Black mixed with Ice Yellow. Pants get a bright warm grey.
From my recipes
- edge Eshin Grey Black Armour Chunky edge
- edge Mechanicus Standard Grey Black Armour Thin edge
- highlight Dawnstone Black Armour Extreme top edges
- highlight Administratum Grey Black Armour Dot highlight
- edge Eshin Grey Black Weapons Chunky edge
- edge Mechanicus Standard Grey Black Weapons Edge all panels
- edge Dawnstone Black Weapons Extreme upper corners
- highlight Administratum Grey Black Weapons Dot highlights
- highlight Doombull Brown Brown Leather Chunky
- highlight Skrag Brown Brown Leather Scratchy damage highlight
- edge XV-88 Brown Leather Shaky - edge and scratch
- highlight Ushabti Bone Brown Leather Dot highlight sparingly
Also in this stage
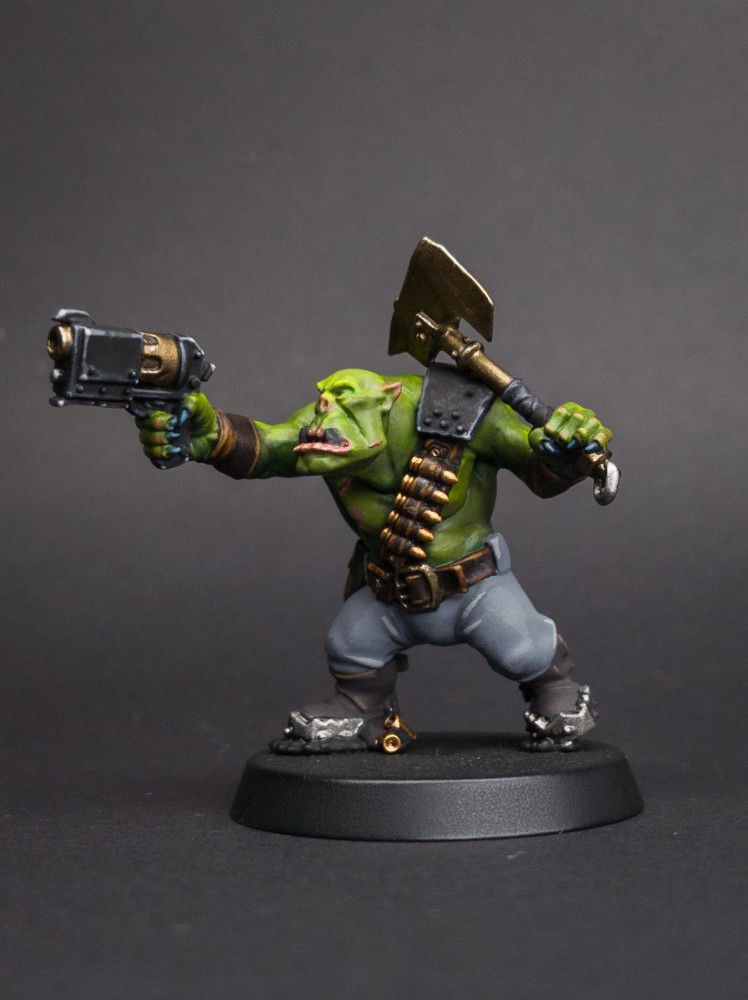
Details
The teeth and skulls are Bone, washed with Agrax Earthshade. If there's a squig on the base, it's my Squig Flesh recipe: Purple over the whole squig, then Bold Pyrrole Red, Orange Red and Warm Yellow wet-blended over less and less of it, leaving the purple in the folds. I'll probably break them out into another how-to though.
Paints for this stage
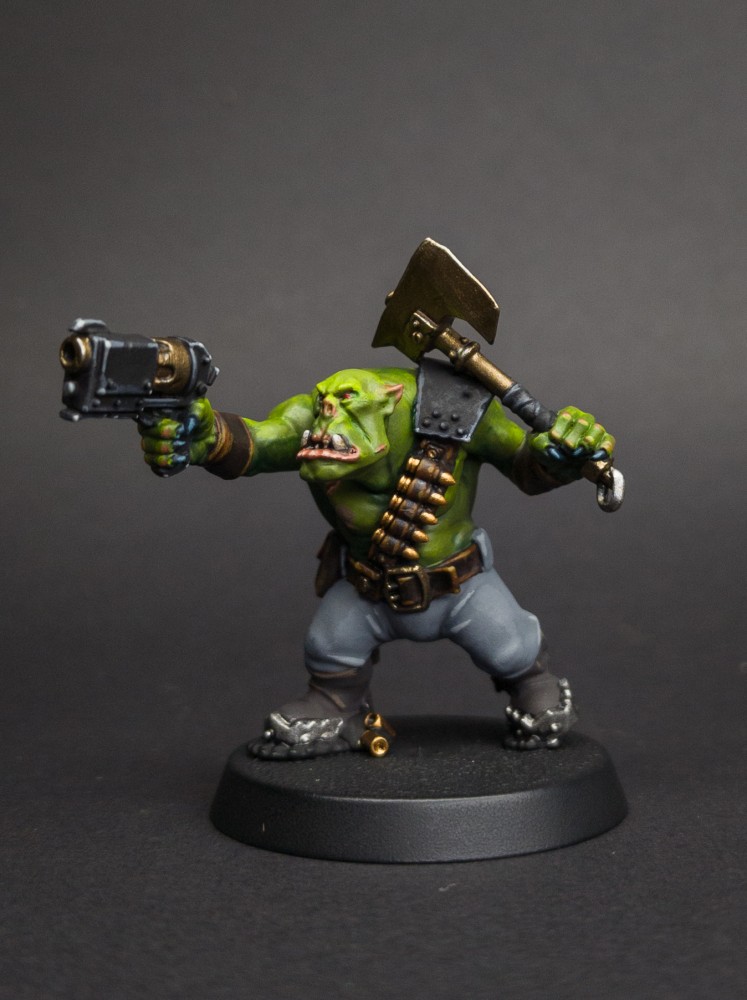
Checks
No decals on my orks: the markings are freehand. The checks start as Coal Black panels, with alternate squares in Field Blue and a highlight of Steel Grey.
Paints for this stage
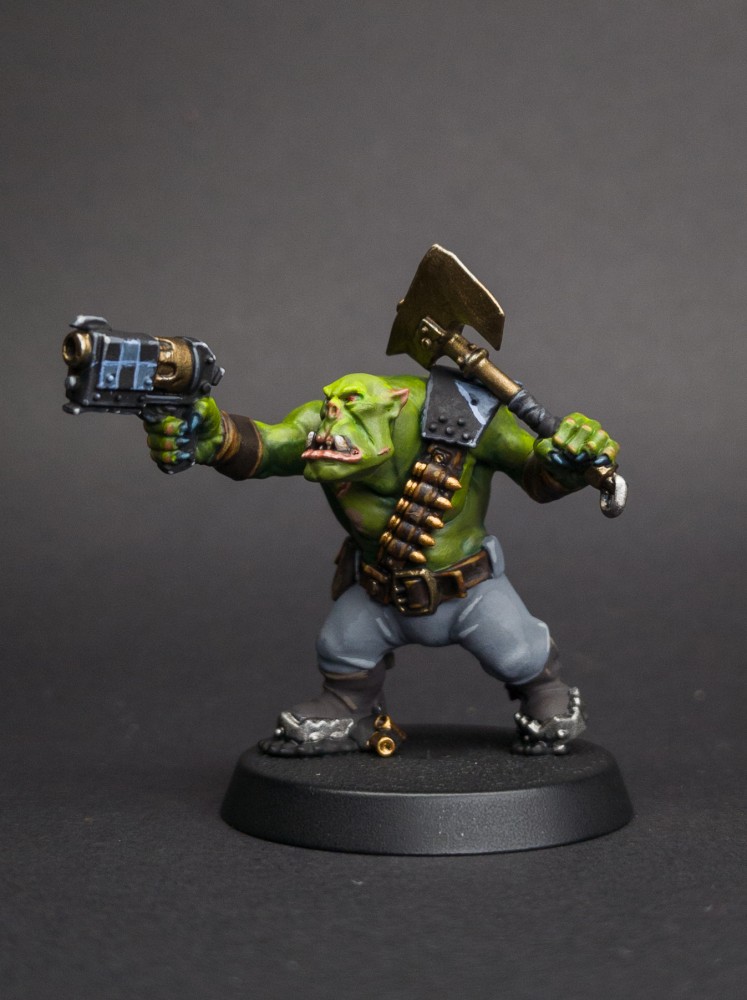
Weathering
I weather with a bit of sponge and the armour colour, Coal Black, dabbed onto the checks and anything else that would take the knocks, to show some battle wear. Then a few scratches in Coal Black with a fine brush.
Paints for this stage
Varnish
A coat of matte varnish to protect the paint from handling. It goes on before the basing, so the pigment on the boots stays unvarnished and keeps its dust. Matte keeps the armour from shining; gloss would catch the light all over and flatten the highlights you worked for.
Paints for this stage
Basing
Earth Texture Paste over the base, drybrushed up through warm greys once it's dry, and the rim painted Coal Black. Then a dusting of Burnt Umber pigment over the boots and the bottoms of the trousers, for the dust of Armageddon's ash wastes.
Paints for this stage